Description
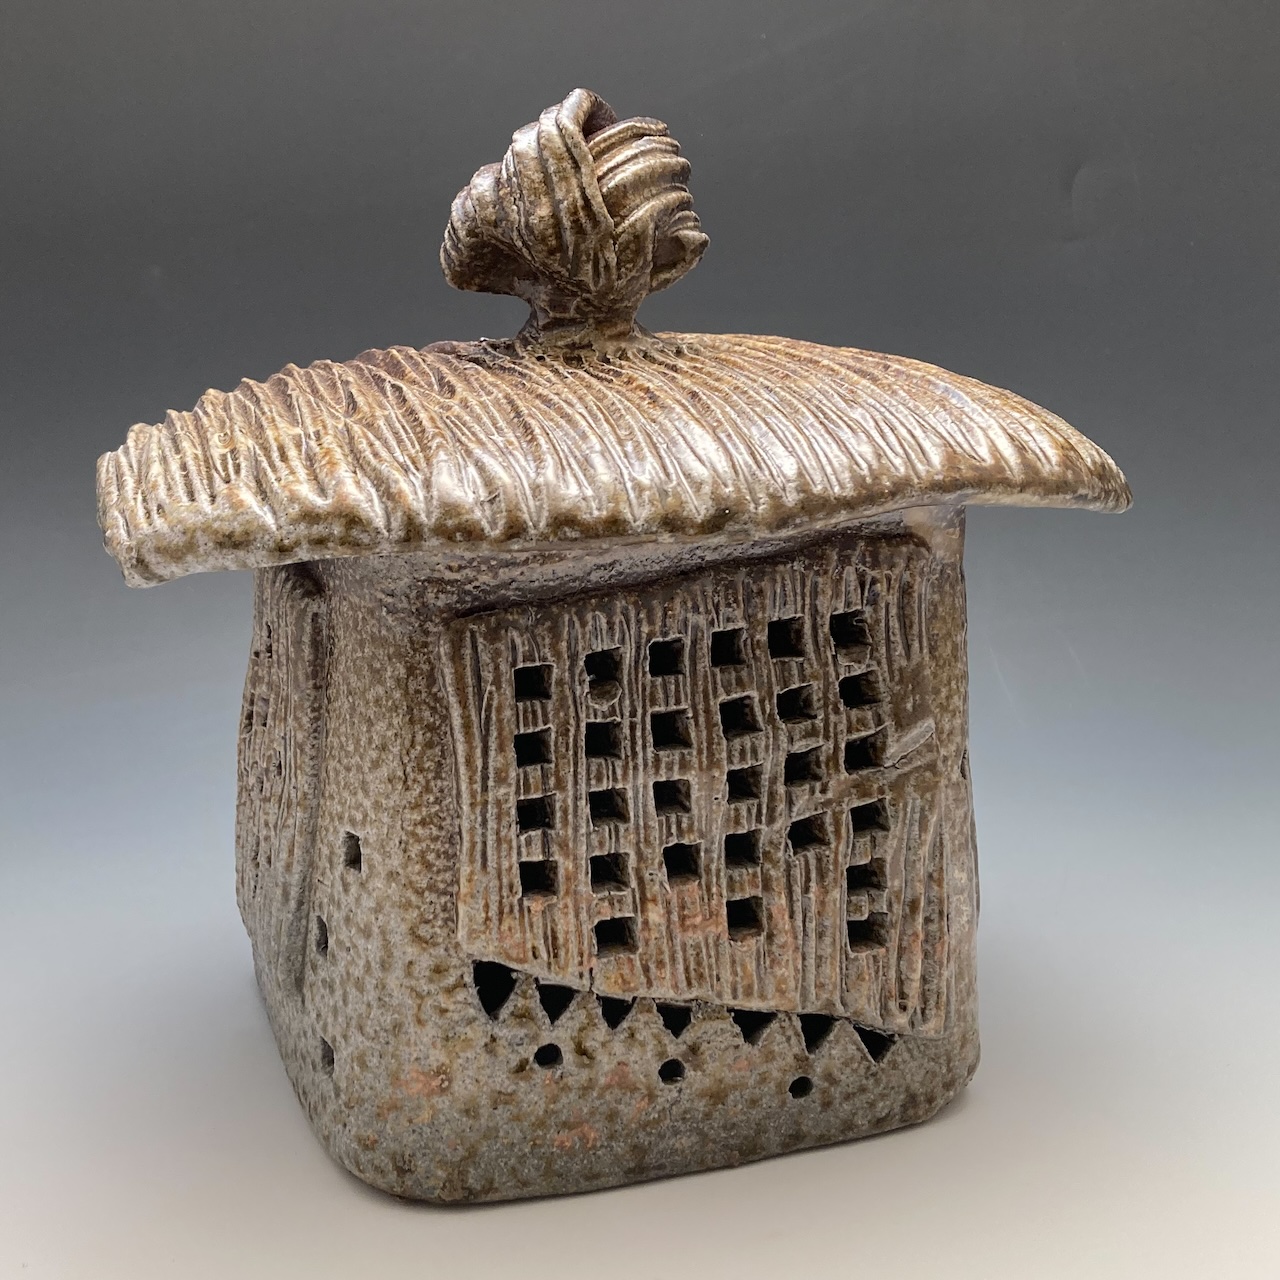
I made Salty Box Lantern partly on the potter’s wheel and partly with slabs of clay. First, I throw the body of the lantern in a cylinder with no floor, and then I shape the cylinder into a square. Next I roll a slab of clay for the floor. And I roll a second thicker slab for the roof. I use a ribbed roller to create texture in the roof slab.
Now it’s time to assemble the three parts. I add finial to the roof and then go to work embellishing the four sides, using the scraps of thick clay leftover from cutting the roof. It makes interesting shapes but it’s challenging to pierce! I use an exacto knife and I don’t use templates. It’s all intuitive.
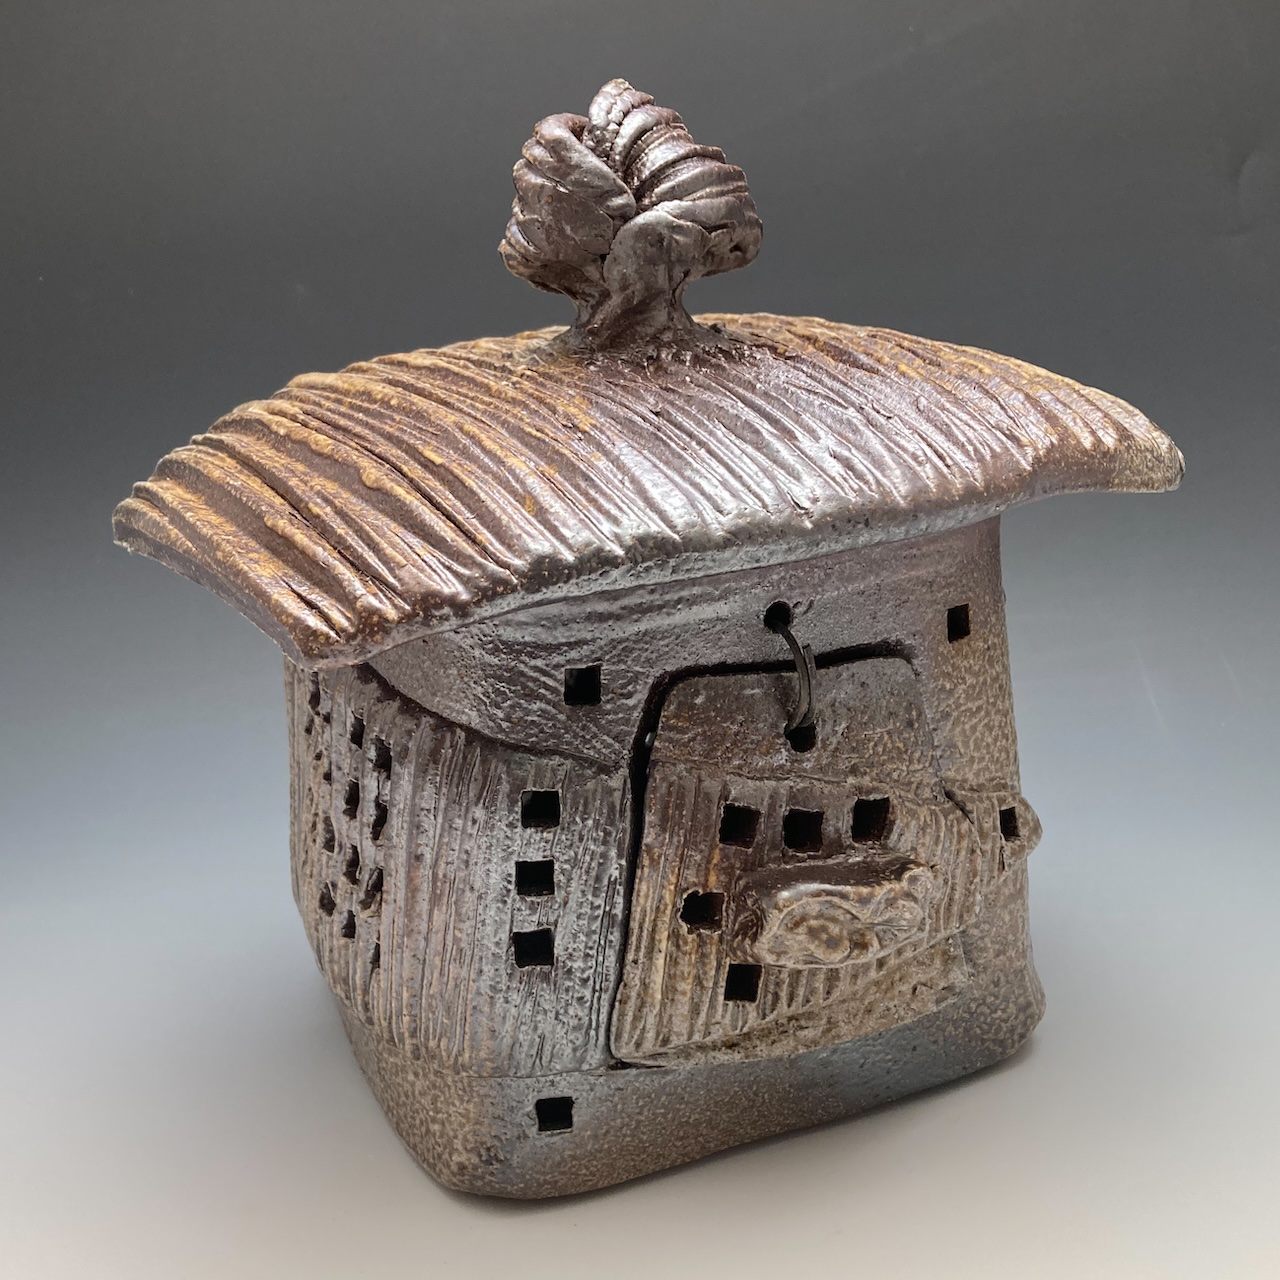
Lastly, I cut the door, attach a knob, and brush a flashing slip over the texture of the roof and sometimes here and there around the surface. Sometimes I use a wooden meat tenderizing hammer for texture as well.
I fire the lantern to 2400 degrees in my wood burning kiln! We introduce salt late in the firing, which is the orange peel and coppery texture you see on the surface of this lantern. And that is what I’m going for!
Once the piece is fired, I wire the door. Accommodates tealight or votive candles. Stuff the lantern with as many candles as will fit.
Set Salty Box Lantern on a patio table, along a spa, or on the deck. Set in a flower bed or use as a landscape feature.
You may also use the lantern inside to add ambiance to any table, niche, or tub area.
Makes a unique and charming wedding, housewarming, or anytime gift. Start a collection. Each lantern is one-of-a-kind
7.5″ high x 4.5″ x 4.5″


